In today's urban landscape, space is a luxury. But just because you're short on square footage doesn't mean you have to sacrifice your green thumb. Enter the vertical garden: a brilliant solution for bringing nature indoors and maximizing every inch of space, whether you're living in a tiny apartment or have a small backyard. In this guide, we'll walk you through the steps to create your own vertical garden, transforming bare walls or unused corners into lush, thriving green spaces.
Step 1: Planning Your Vertical Garden Before you start digging in the dirt, take some time to plan your vertical garden. Consider factors such as available sunlight, space constraints, and your personal style preferences. Sketch out a rough layout of your vertical garden, keeping in mind the types of plants you want to grow and how they will be arranged. Think about incorporating a mix of trailing vines, colorful flowers, and leafy greens to add visual interest and texture to your vertical oasis.
Step 2: Choosing the Right Plants Selecting the right plants is crucial for the success of your vertical garden. Choose species that thrive in your local climate and are well-suited to vertical growing conditions. Look for plants with shallow root systems and compact growth habits, as these will adapt best to the confined spaces of a vertical garden. Consider a mix of edibles and ornamentals to add both beauty and functionality to your garden.
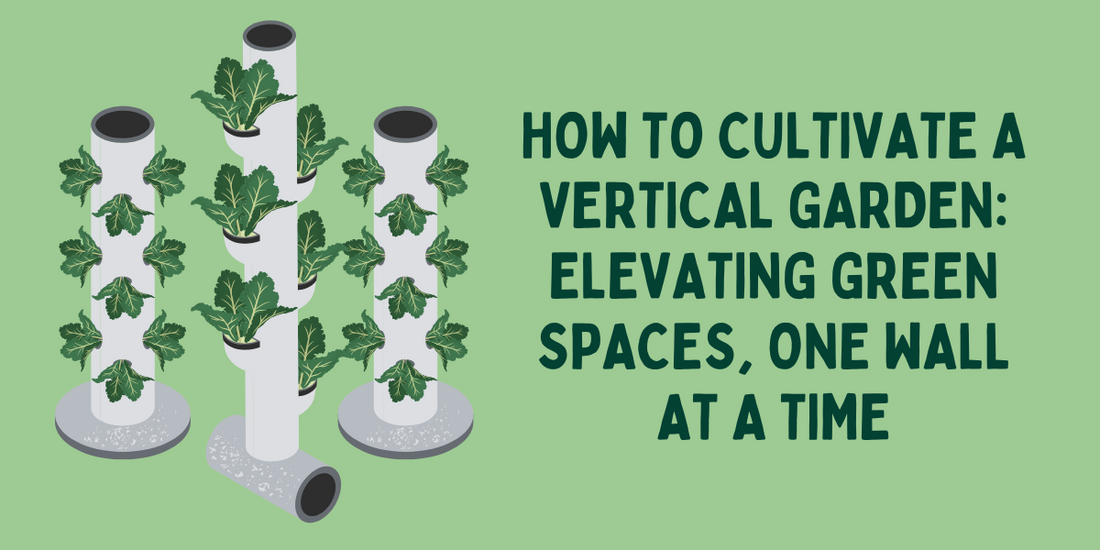
Step 3: Building Your Vertical Garden Now it's time to roll up your sleeves and get your hands dirty. Depending on your space and budget, there are several options for building a vertical garden. You can create a simple trellis or grid system using wire mesh or wooden slats, or opt for a ready-made vertical garden kit. If you're feeling crafty, you can even repurpose materials such as pallets, gutters, or shoe organizers to create a one-of-a-kind vertical garden. Whatever method you choose, make sure to securely anchor your vertical garden to the wall or structure to prevent accidents.
Step 4: Planting and Maintaining Your Vertical Garden Once your vertical garden is built, it's time to plant it up! Start by preparing the soil and adding any necessary amendments to ensure proper drainage and fertility. Plant your chosen specimens according to their individual requirements, taking care to space them appropriately and provide adequate support as needed. Water your vertical garden regularly, paying attention to the moisture needs of each plant. Prune and trim as necessary to keep your garden looking tidy and prevent overcrowding.
Step 5: Enjoying Your Vertical Garden Sit back, relax, and enjoy the fruits of your labor! Your vertical garden is now a vibrant living tapestry, bringing beauty and life to your home or outdoor space. Take pleasure in watching your plants grow and thrive, and don't forget to share your vertical gardening adventures with friends and family. Whether you're harvesting fresh herbs for dinner or simply basking in the beauty of nature, your vertical garden is sure to bring joy and inspiration to your life.
In conclusion, creating a vertical garden is a rewarding endeavor that allows you to bring the beauty of the outdoors into even the smallest of spaces. With a little planning, creativity, and TLC, you can transform any blank wall or unused corner into a lush, thriving green oasis. So roll up your sleeves, grab your gardening gloves, and let's get growing!